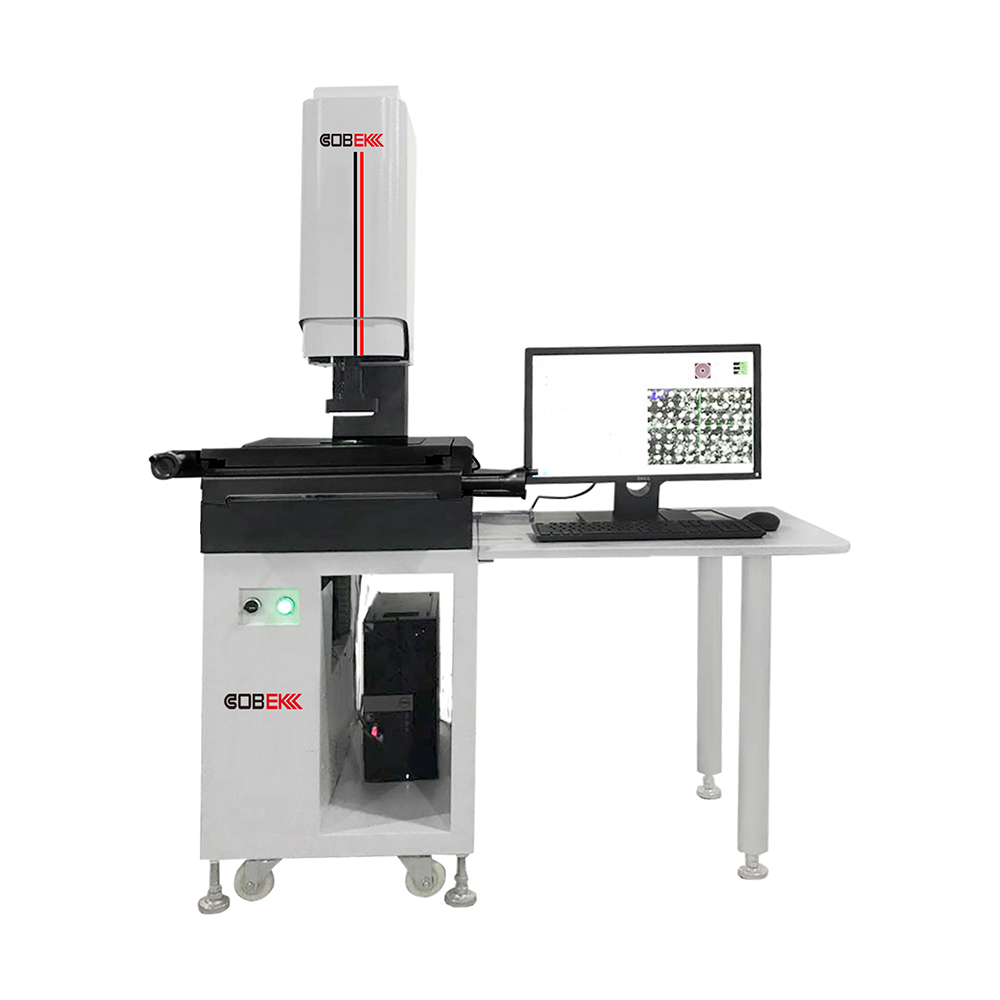
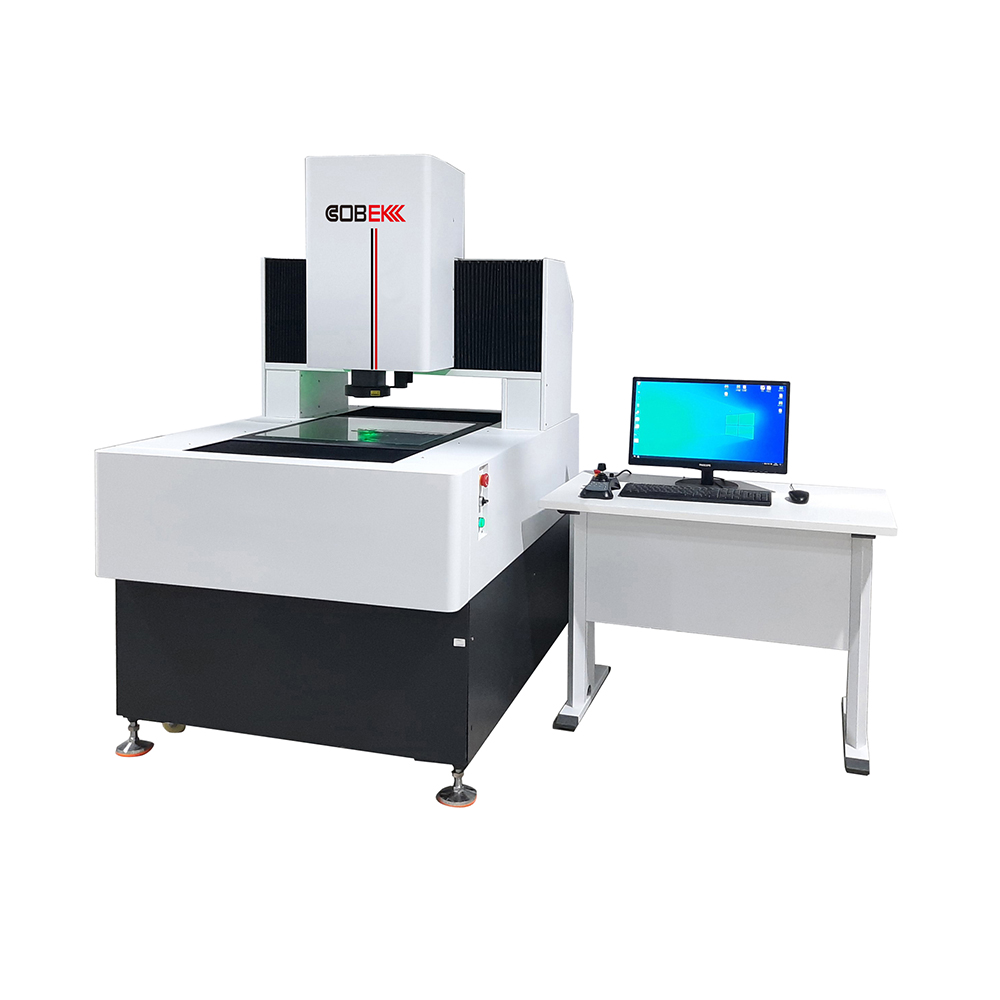
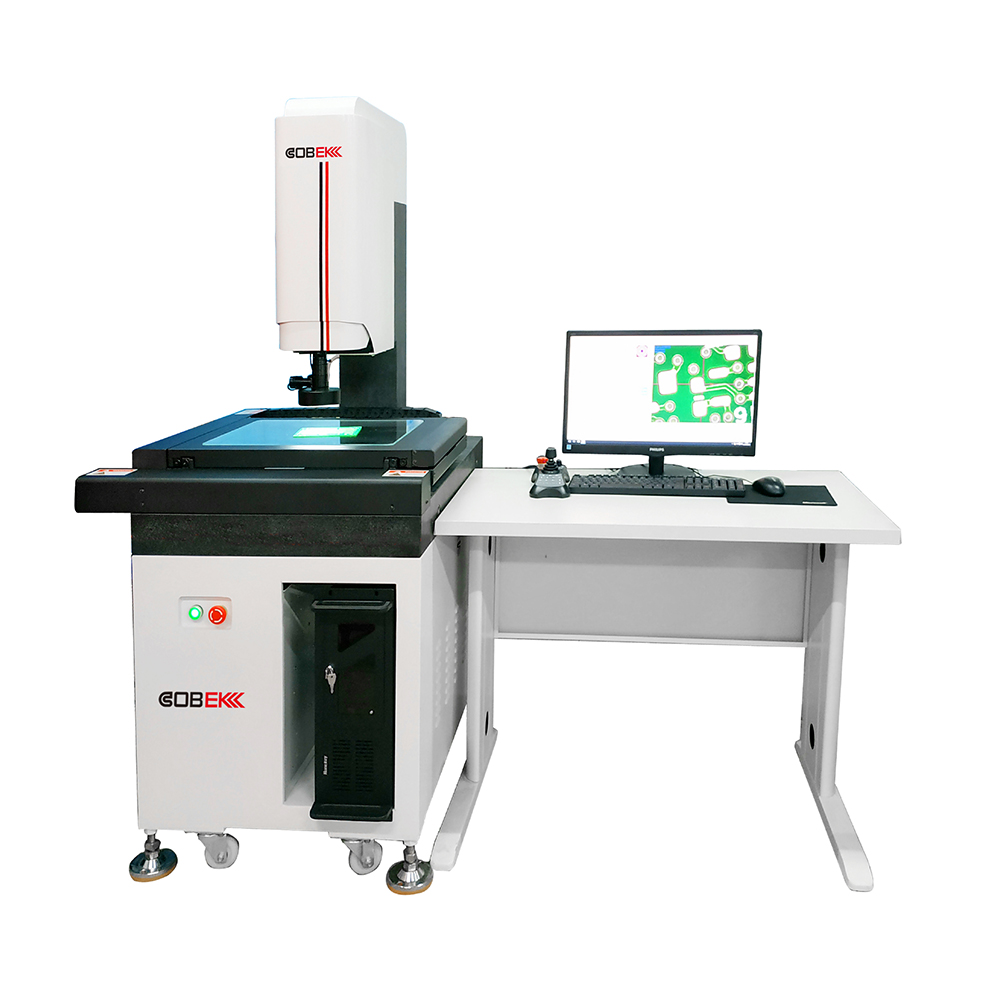
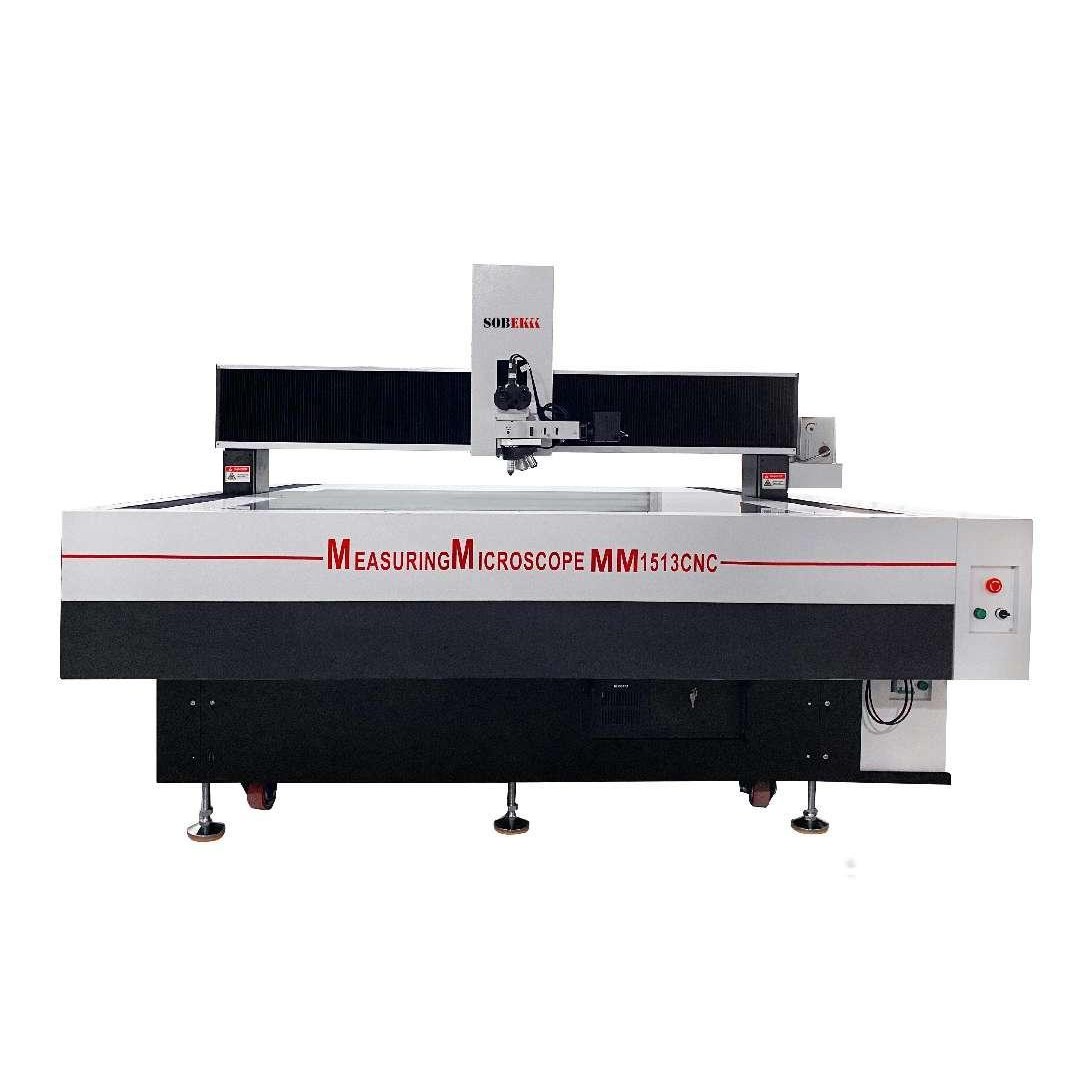
Automatic image measuring instrument is a modern optical non-contact measuring instrument with artificial intelligence developed on the basis of digital image measuring instrument (also known as CNC image instrument). It continues the excellent motion accuracy and motion control performance of digital instruments, integrates the design spirit of machine software, and belongs to today's cutting-edge optical dimensional testing equipment. Nowadays, the industry is developed, and a variety of scientific and technological products are emerging in an endless stream. People are constantly pursuing the quality of commodities, but also constantly demanding the fine beauty of commodities, especially some commodities closely related to people's lives. For example, today's mobile phones, computers, cars and other high-tech products. Their function is constantly updated at the same time, its volume appearance quality is also constantly updated, in order to be more able to produce small and fine products, many manufacturers in the production of the introduction of measuring instruments, that is, automatic image measuring instrument. Many plane dimensions can be detected with the image-measuring instrument, but the detection in the three-dimensional direction seems to be a little complicated. But after some additional configuration and improvement, the image measuring instrument can still detect the dimension of the stereo direction. We usually mention how the blind hole of the workpiece is detected, including the depth of the blind hole and the inner diameter. Usually we see that the measuring stroke in the Z-axis direction of the imager is 200MM. If the depth of the blind hole exceeds this stroke, then we will find another way, such as adding a probe. Different from the traditional vernier caliper and spiral micrometer, the principle of blind hole measurement is to use the light source and lens axis parallel direction to illuminate the original surface of the workpiece, and then form a mirror image on the surface of the workpiece, so as to realize the rapid detection of the depth and size of various sizes of blind holes. The instrument itself has an integrated card that collects the geometric data cloud of the workpiece, converts the image into a digital signal through pulses, and then transmits it to the computer. The operator can easily detect the size of the blind hole by controlling the software installed in the computer. Automatic image measuring instrument is mainly used to measure the size of the product and its accessories. And the measurement accuracy coefficient is very high. Like the previous length micrometer, vernier caliper and other tools can not achieve the accuracy requirements, this instrument can achieve. Usually, its accuracy is in 1-5 U. More and more industrial fields are used in image measurement instruments, including hardware, electronics, plastics, military, aviation and so on.
查看分類


