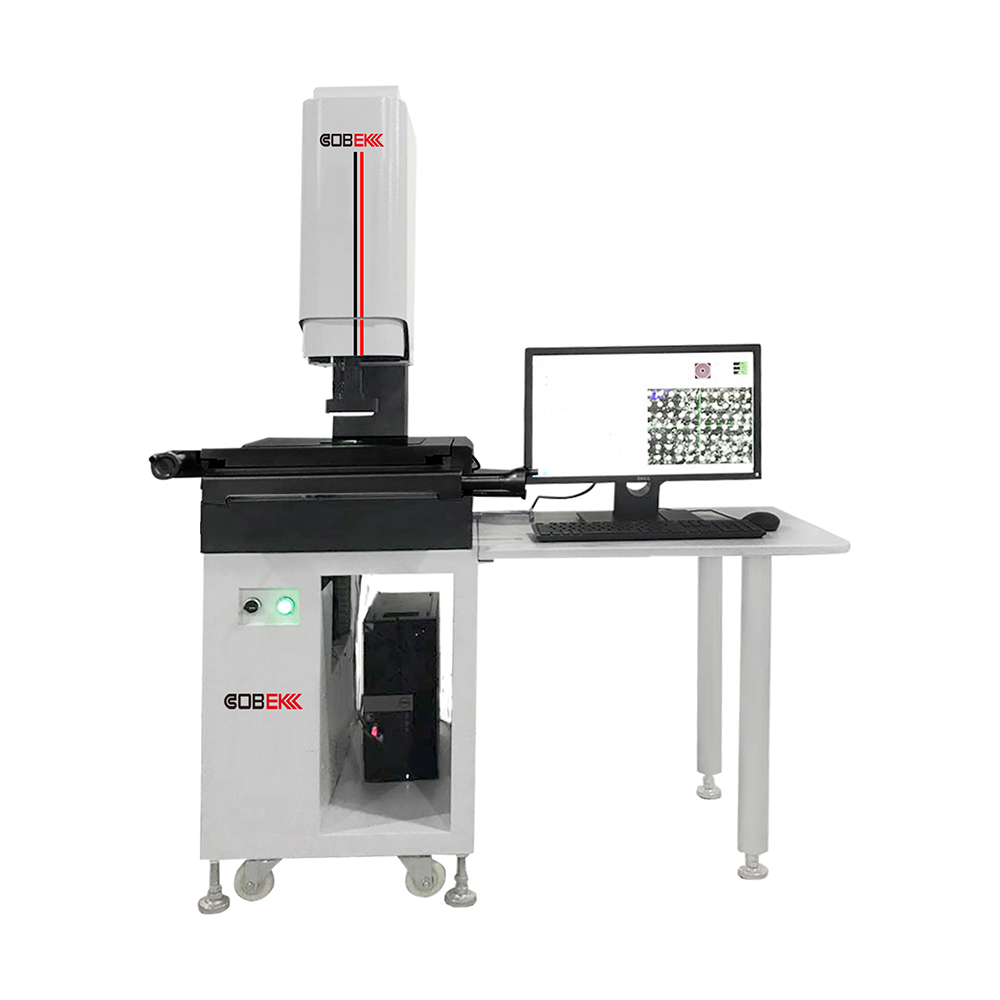
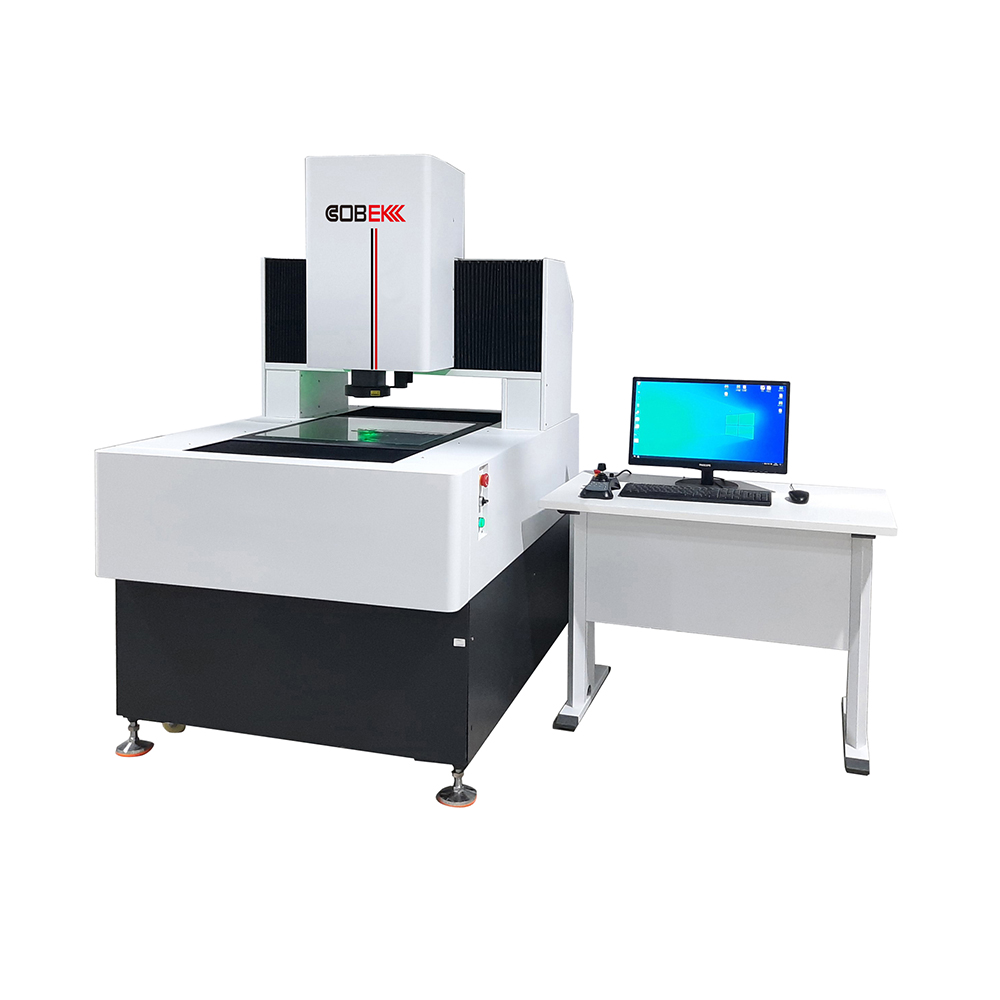
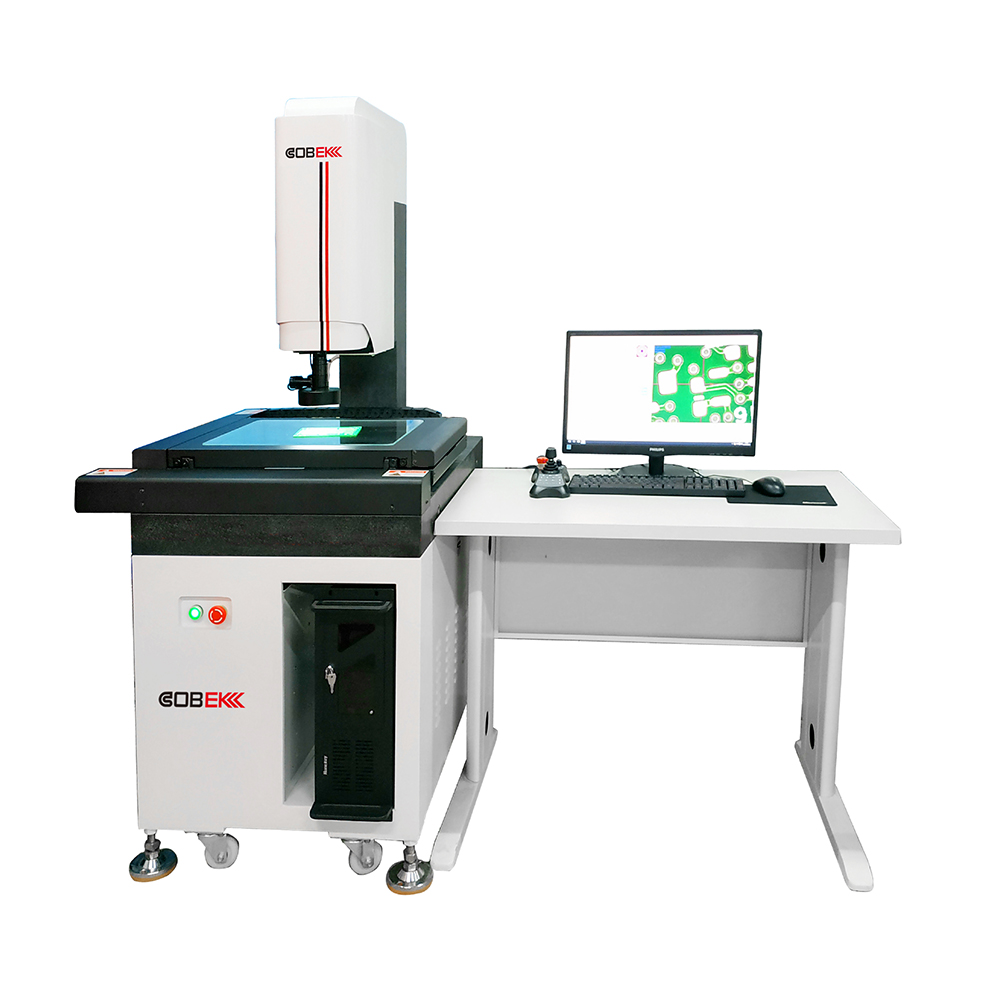
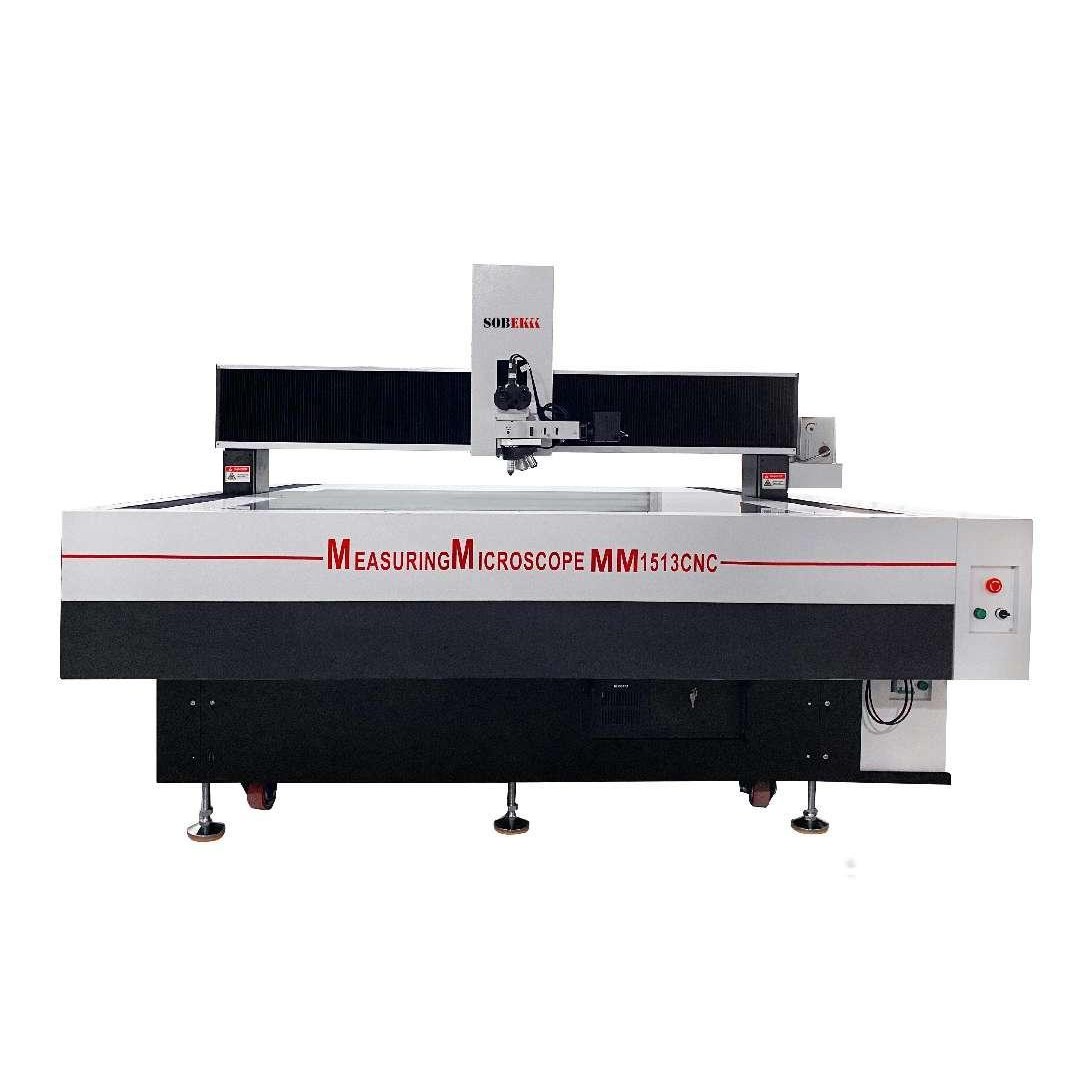
The automatic image measuring instrument continues the excellent motion accuracy and motion control performance of the digital instrument, integrates the design spirit of the machine software, and belongs to the cutting-edge optical dimensional testing equipment. It can easily and quickly carry out 3D coordinate measurement and SPC result classification, and meet the increasingly prominent requirements of modern manufacturing industry for size detection. For the image measuring instrument that has just been purchased, it is necessary to calibrate the length measurement error. For the two-dimensional length measurement, the standard used is the line cutter. For the z-axis, use a gauge block. The following small series on the automatic image measuring instrument calibration process detailed description. 1, the detection error of multi-point measurement, the standard graphics board is placed on the horizontal workbench, and the contour light is used. The magnification of the lens is selected to ensure that the measurement can only calculate the circle parameters by measuring multiple local arcs (15 local arcs are specified). The measurement results are obtained by automatically capturing edge points, and the shape error values of 10 measurement circles are taken. 2, the detection error of imaging variation, the standard graphics board is placed on the horizontal workbench, and the contour light is used. Select large, small and intermediate magnification of the lens, select a suitable standard circle, so that the image of the circle accounts for 2/9 of the field of view, measure the central coordinates of the circle at 9 positions, and take the change value of uniaxial coordinates as the measurement result. 3, the illumination of the detection error, the standard graphics board is placed on the horizontal workbench, the use of contour light lighting. Automatic image measuring instrument lens selection large, small and middle magnification select the appropriate standard circle, so that the circle image accounts for 2/3 of the field of view, use the "whole extraction circle" to extract the edge of the circle, calculate the circle diameter. 4, two-dimensional length measurement indicating value error calibration, the use of glass wire ruler, in the horizontal axis and diagonal direction of each measurement 2 positions, and then by the user to choose a position, a total of 7 positions for calibration measurement. Each position is measured 5 lengths, each length is measured 3 times, the difference between the measured value and the standard value is recorded, and 105 error values are obtained. 5, Z-axis length measurement error, using the measuring block erected on the workbench, the use of automatic image measuring instrument surface light lighting, using the automatic focusing method aimed at the workbench and the upper surface of the measuring block, measure the Z direction of the measuring block height value, compared with the nominal value, determine the instrument Z-axis length measurement error.
查看分類


